Thanks for purchasing the Racing-Bike / Gabro Racing RAM-AIR performance duct with race front subframe for Aprilia RS660!

⚠️ IMPORTANT PRE-INSTALLATION NOTES:
- Note 1: Installation is possible in track-only bikes. This package is reversible, but it will be very hard to restore your bike to street use after applying this mod.
- Note 2: This is a very intrusive kit. Assembly involves the whole mid-section and front end. Installation time is about 3hr and requires skills. Professional installation is highly recommended.
- Note 3: Developed using Cruciata fiberglass fairings. We cannot guarantee a perfect fit on other producers’ fairings (adjustments may be needed).
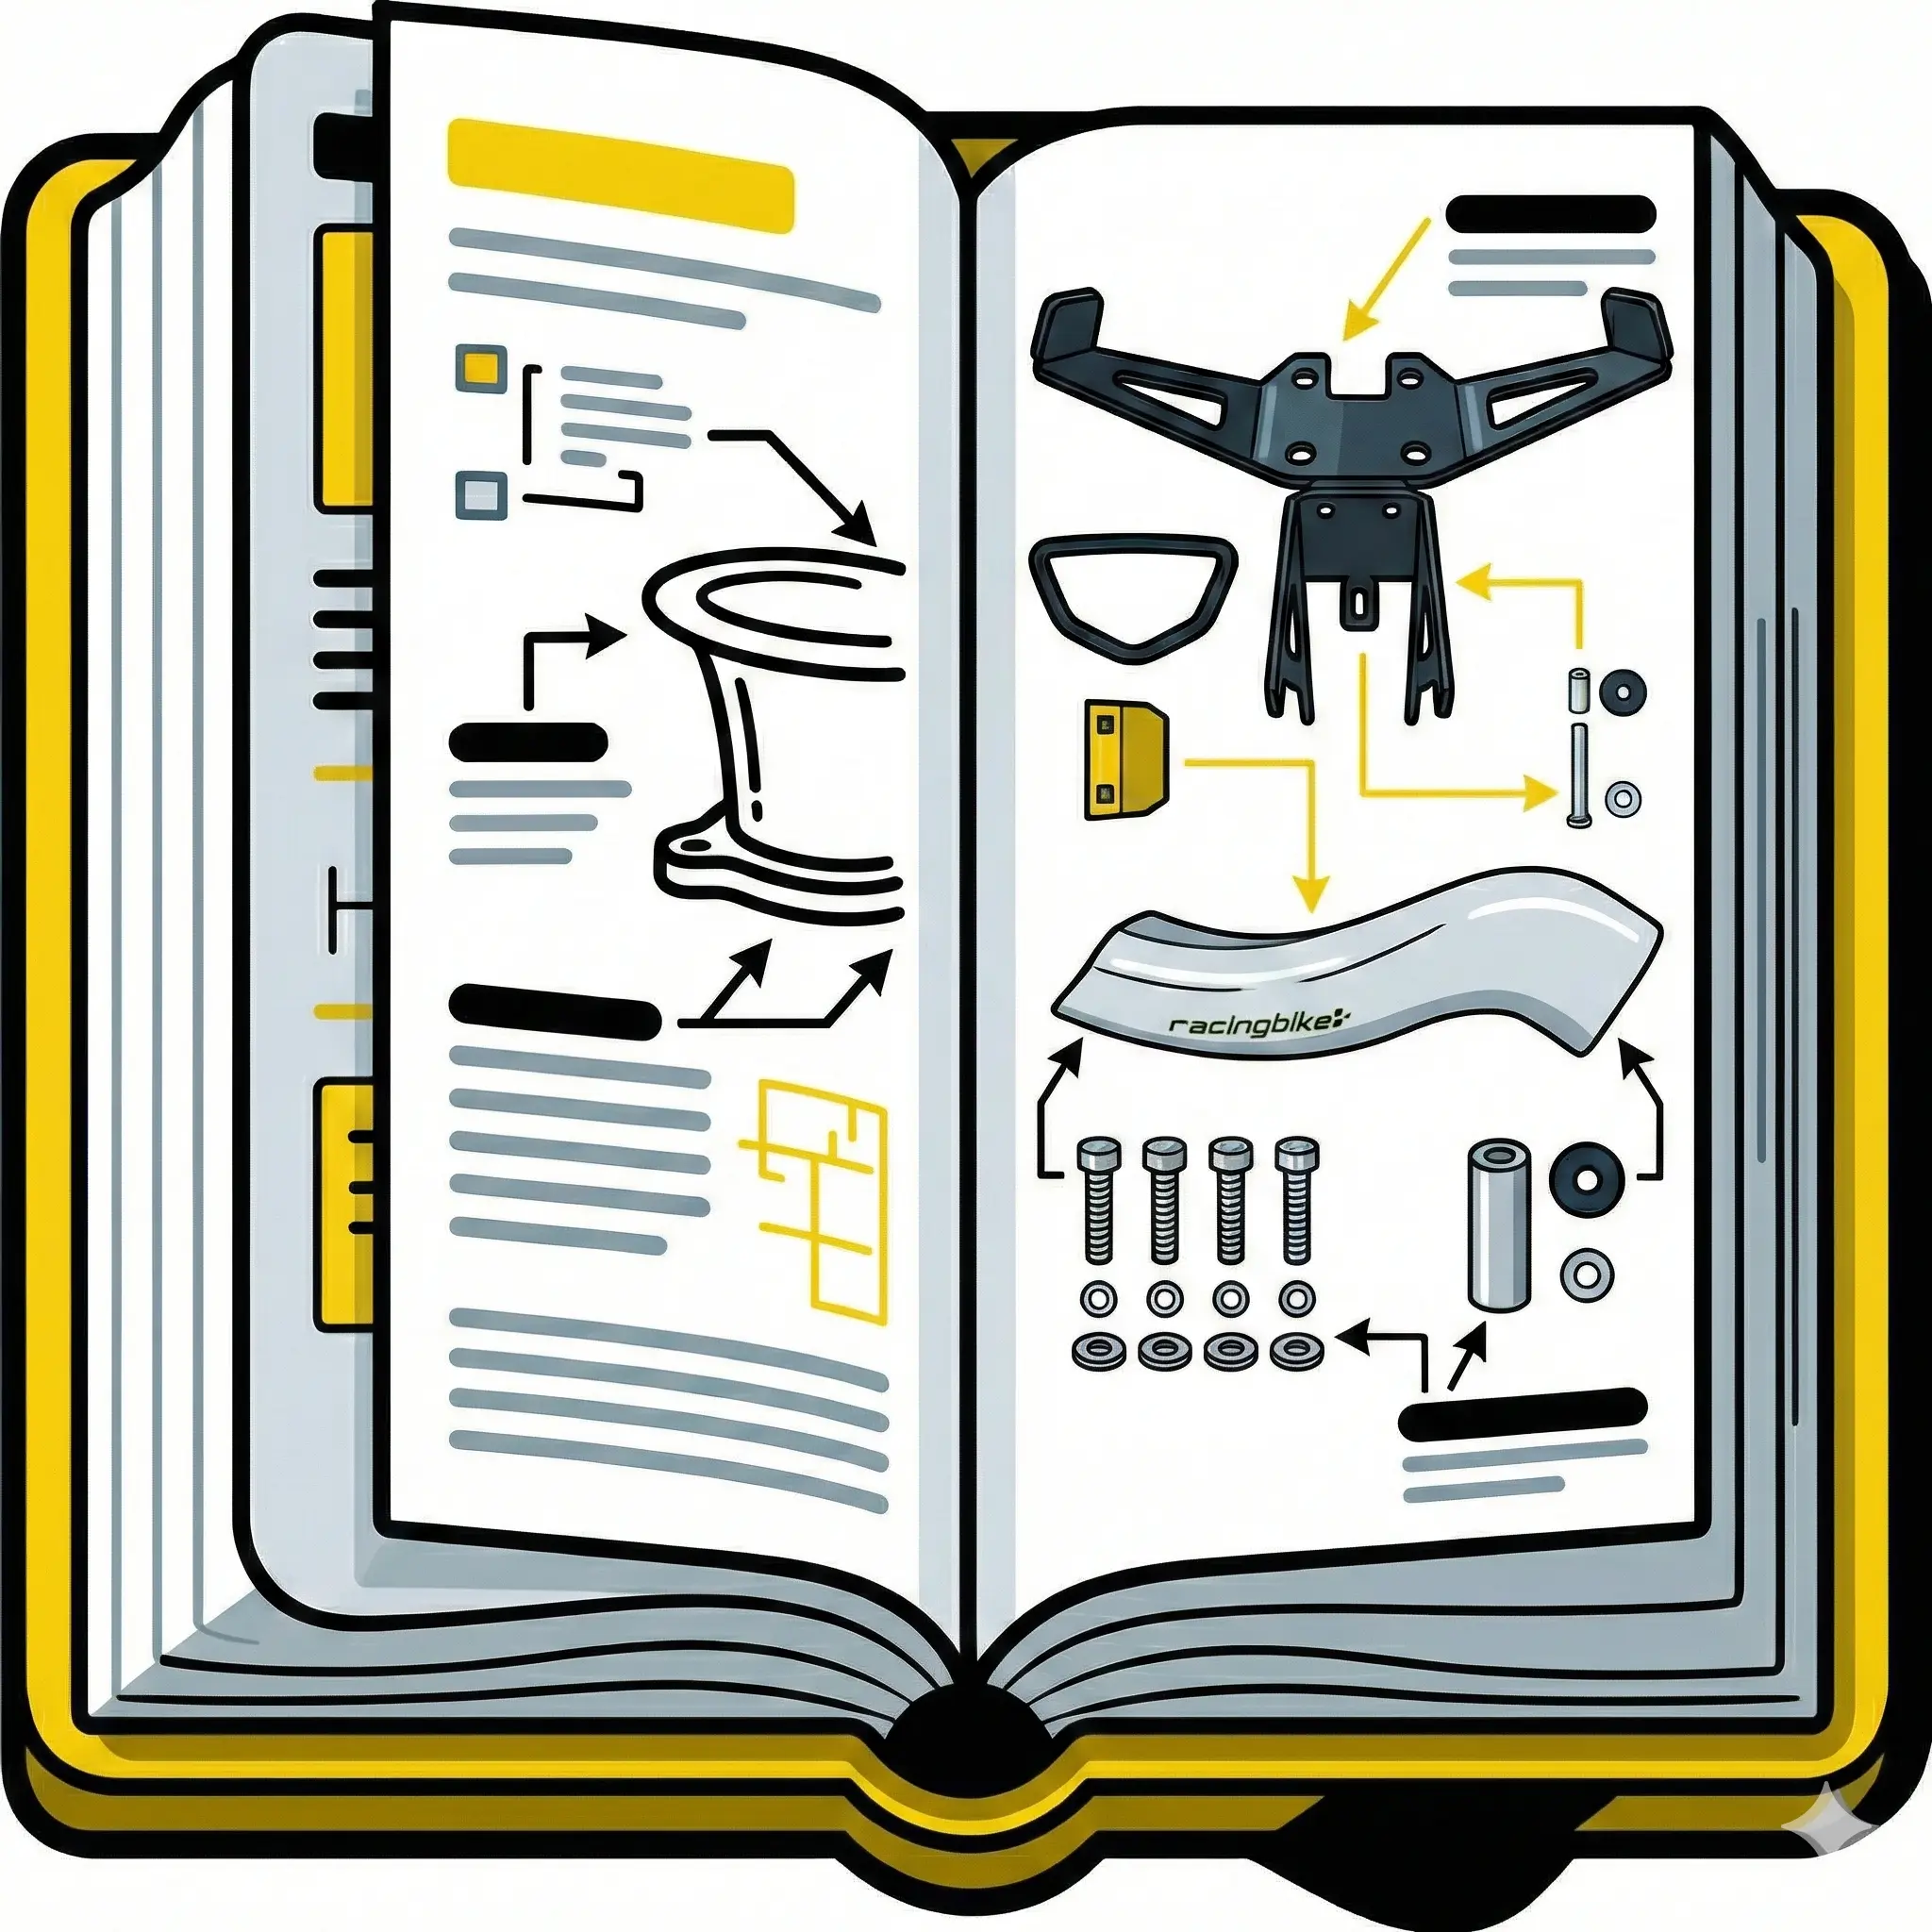
The Kit Content

- A Fairing stay/dash support
- B Fairing cut template sticker
- C Fairing rubber grommet for ram-air duct
- D Steering stem fin
- E Ram-air duct
- F Fairing stay bolts, washers and spacers
- G Fairing stay M6 rivnuts
- H M5 rivnut, bolt, washer, rubber washer for duct fixing
Installation Procedure
- Disassembly:
Start removing the whole fairing from the bike, remove the fuel tank, remove the airbox. - Wiring Preparation:
The wiring loom has to be moved from stock passage inside the frame air scoop. Remove dash and remove OEM dash support/front subframe. Disconnect the whole front electrical system. Remove the vehicle loom plastic cover fixed to the frame right beam internals. - Fork Removal (Essential Step):
The dash electrical connector is too big to pass between frame and steering stem. You must remove the fork upper triple and front wheel. Suspend the bike front end, undo steering bearing and drop fork and lower triple. While fork is off, pass the front wiring loom back in the frame.
Fit fork and front wheel back when done. - Rerouting Wiring:
Use electrical tape to restore wiring loom protection, move the loom on the side of the throttle body and head cover, pass it out the frame above the radiator.

- Steering Fin & Subframe:
Install the supplied steering stem fin (item D) using 2 zip-ties (See FIG 3 below). Install the kit’s aluminium sub-frame (item A) using the supplied hardware (item F) and accommodate the wiring loom/connectors on its side using zip-ties (keep them loose for now).

- Cutting the Fairing:
Take the fairing cut template sticker (item B) and place it on front fairing nose cone. Position it carefully in the middle line, keeping its lower corner at just 5mm from fairing lower corner.
Cut the fairing using a dremel tool and a grinding disc. Wear proper DPI.


Duct Fitting & Drilling
1. Install Grommet & Duct: Fit the rubber grommet (item C) in the fairing cut (it should have a loose fit). Place the fiberglass duct (item E) in the frame hole, then test fit the fairing. Insert the intake side of the duct in the nose cone hole.
2. Check Alignment: Check duct floating: it should not be blocked but allowed to move a bit front/rear. The duct is made purposely longer: cut eventual excess on the frame side. It should not touch the steering stem inside the frame.
3. Drilling (FIG 5): When fit is good, use the front sub-frame central lug as a template to drill out the duct to fit the supplied M5 riv-nut. You can bend the lug slightly to match duct orientation. Lock position using hardware (item H).

- Final Assembly:
Complete wiring at front sub-frame, install dash, tighten zip-ties. Check wiring is not pinched at full steering angles. Clean installation residues, reinstall airbox, tank, and fairings. - Mapping:
Load the specific Ram-Air map in bike ECU using your UpMap system.
Attention:
This is a race product intended to be used on closed courses only.
Follow us on Facebook and Instagram: @aspecialparts & @gabroracing

